This time I will give a tutorial on how to save videos from animations or other projects that we have in the blender application
This tutorial can be said to be very simple and easy to imitate because the most important thing here is that you already have an object that has been animated, the rest is to determine where the video is made and the properties of the video itself.
The following are the steps or procedures that can help you to save the resulting video from the Animation that you have created.
The first is to open the application from Blender and then enter a project that has an object that has been animated, the image below is a simple animation example of an existing object and only slightly transformed

Like the picture above, I have given the two objects a simple animation that can be seen at the bottom of the viewport(box1) that is the timeline
Next, we look at the "property" type editor at the bottom right (box1) to be precise in the Output property (box2) until the display changes as shown below

As shown above, in the Output property option (box2), 2 initial options will appear that will be used to create videos from animations in Blender.
that is Dimensions and also the outputs of each of which I will discuss below
- Dimension
In this option we can set the resolution, duration length, Fps etc. In addition to what I explained earlier in this option there is also a Render preset
in the rendering preset (box1) * see the image below there are settings options that are commonly used so if you want to be fast you should use this preset and go directly to the output of the second option

While the explanation of the other options contained in this dimension choice starts from the very top
- Resolution(box2) is used to determine the size or resolution of the video you want to make, the greater the value that is at X, Y the larger the size of the video that is made, X symbolizes the width and Y height.
- The start and end frames (box3) here determine the length of the video that we have the default is frame start 0 and the end frame is the final result of the animation before it restarts or stops (box4)
- Frame Rate(box5) how many frames there are in one second according to the example above 170 frames : 24 Fps = approximately 7 seconds long video.
- Output
The last thing that must be set is the output here, what you have to do is very simple
First of all, make sure that what will be rendered is video by selecting it in the file format (box1) and then selecting video (box2) as shown below

Don't forget you have to choose the video format first otherwise the next process that will be made is the image.
Well, then we look for the folder where the video will be generated by clicking the folder icon (box1) until a display like the image below (box2) appears, then if we have found the right place we click accept (box3)

Rendering animation results
This is the last one after everything is done in the next settings we just need to open the rendering options by clicking the option button on the top left (box1) as shown below

Then select rendering animation (box2) or shortcut CTRL + F12 as shown above
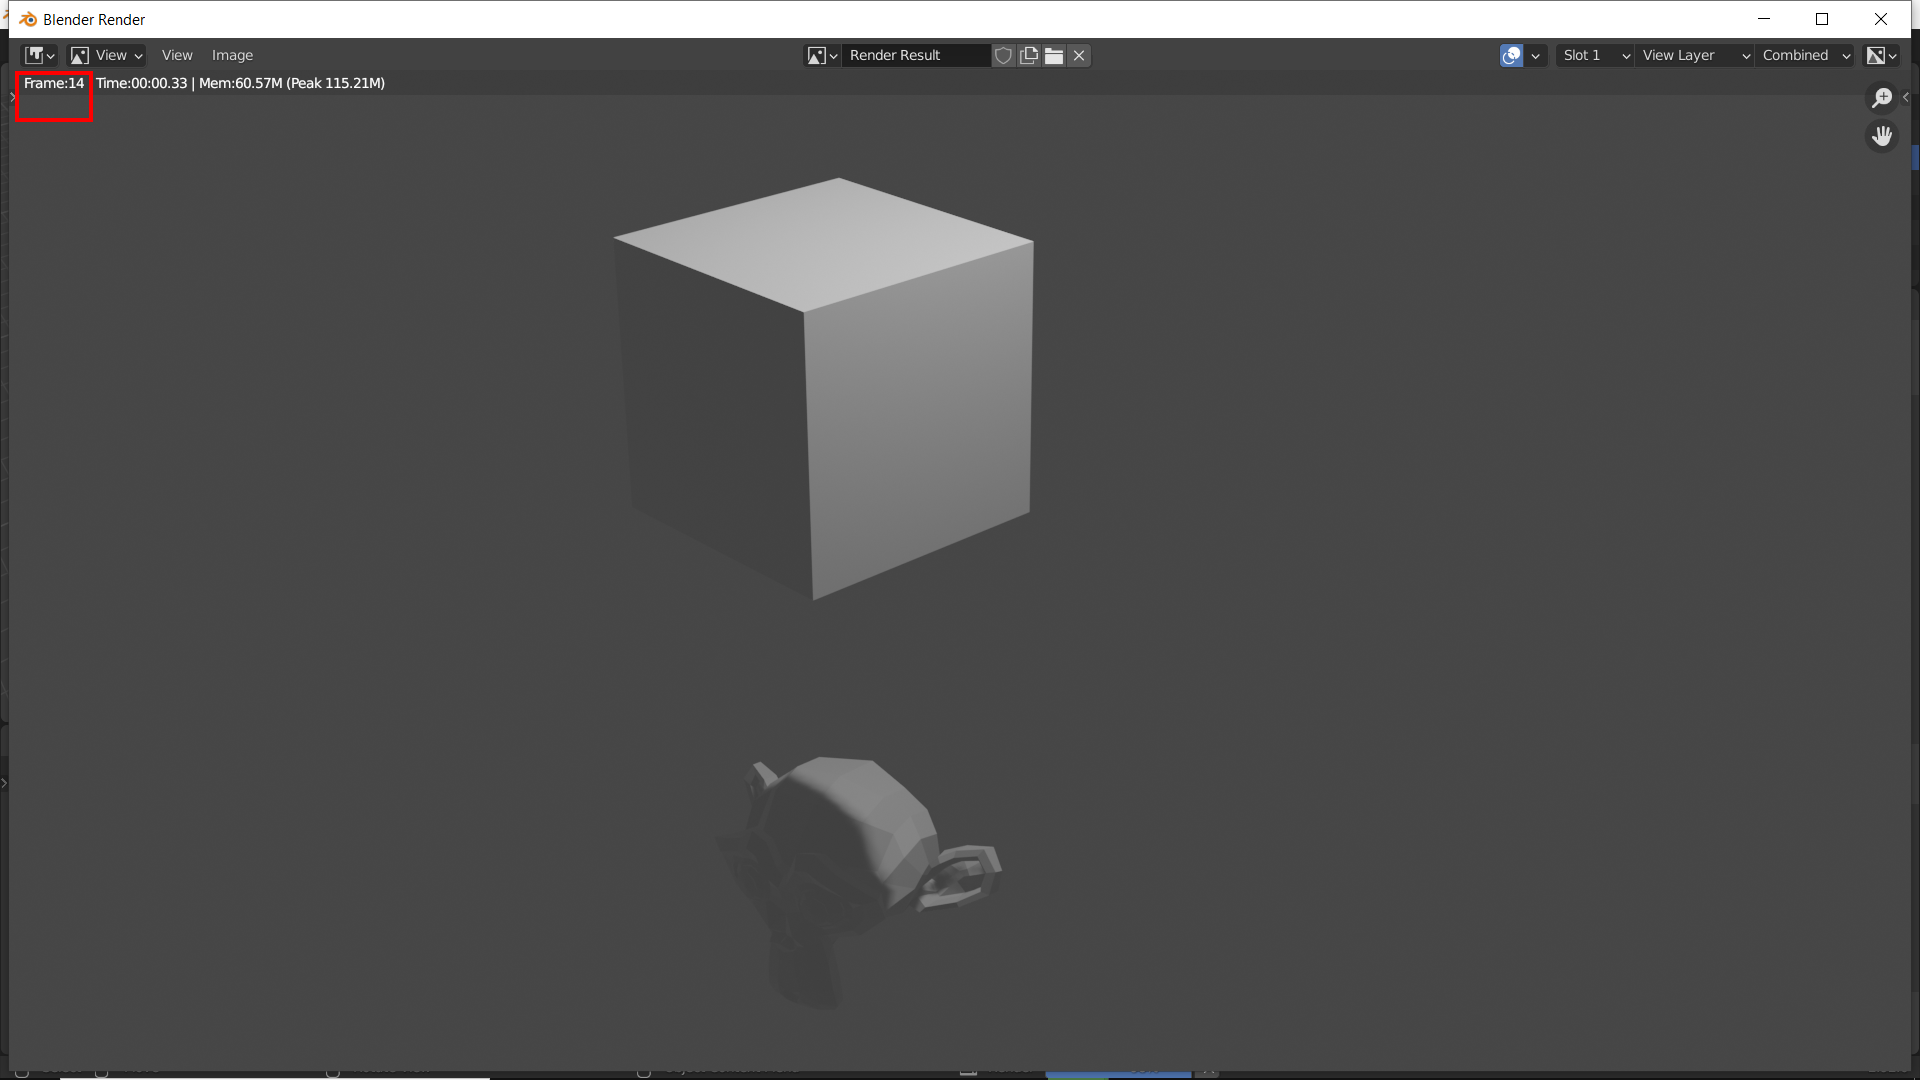
After we click it the display will change as shown below we just need to wait until all frames are rendered(box1)
When the video from the animation that we created is finished, it will appear in the folder we have chosen as shown below

And this is what happens if we haven't selected the video format when setting the output

Alright that's all for this tutorial how to save a video in blender, thank you for visiting, if you have any questions please comment below, see you in the next article


0 Komentar